
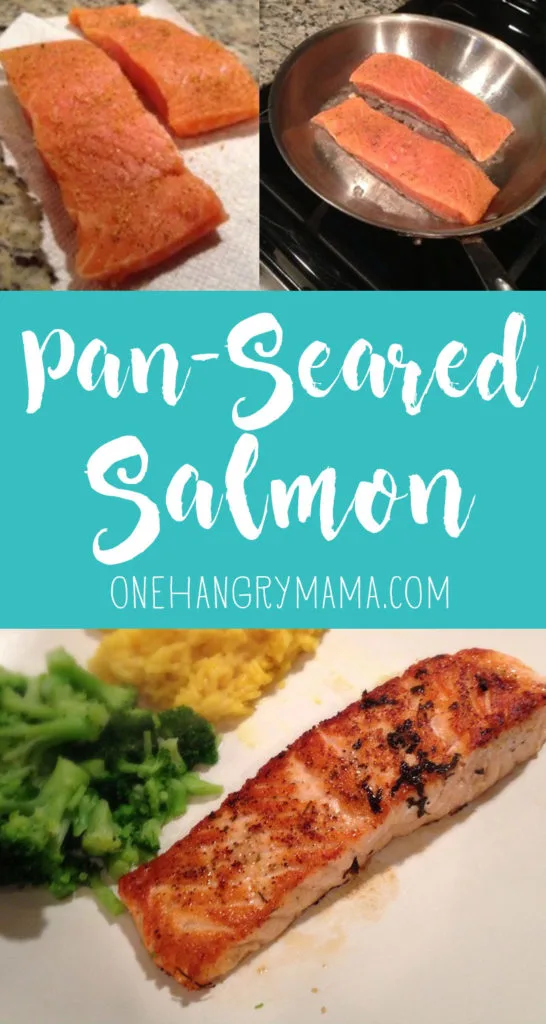
Let me just start off by saying: this Pan-Seared Salmon is going to completely change your opinion on salmon. But I’ll come back to that.
So as it turns out, dinner is kind of a mandatory thing around here. (It’s a real bummer, actually.)
And with two working parents, a preschooler, a toddler, and a baby on a strict schedule, time for cooking is slim to none.
Time for cooking an actual nutritious, non-frozen, non-microwaved, non-chicken nugget meal? Virtually nonexistent.
Enter: pan-seared salmon.

I’m sure salmon is the last thing that comes to mind when you’re looking for a quick, weeknight meal.
Salmon has always seemed so fussy and difficult… something only a real ~chef~ could prepare correctly. But after this recipe, you’ll see how completely wrong that is.
This is – no exaggeration – the single easiest meal I make for my family. (As far as things that actually qualify as a real “meal,” that is. Frozen chicken nuggets and Velveeta Shells & Cheese cups out of the microwave is the actual easiest meal I make, obvi.)
{A very close second here is my Ritz Cracker Salmon Patties recipe… which is also very kid-friendly, and very fast to make!}
I always keep Costco Atlantic Salmon in the freezer, so this is my go-to recipe when I’m on my way home from work and realize I made zero plans for dinner and have exactly 30 minutes to get something thrown together – which happens at least once a week.
The Easiest Salmon Recipe You’ll Ever Make
The husband and kids both love it, and it only takes 15 minutes to prep and cook.
Like, a legit 15 minutes. Not one of those “15-minute meals” that actually takes 45 after all the chopping and cutting and mixing and marinating.
This salmon recipe basically boils down to three steps:
- Season the salmon.
- Cook the salmon for ~5 minutes.
- Flip it, and cook for another 4-5 minutes.
This recipe is also a one-armed-wonder, in that I’ve managed to make it one-handed while the baby terrorist demanded I hold him.
This Pan-Seared Salmon recipe originally came from “The Weeknight Cook” cookbook, but I’ve adapted it over the years to be my own special (easier) blend.
Safety Tips When Searing in Oil
Before I go into the step-by-step, it’s worth mentioning that the first time I ever made this pan-seared salmon recipe, nearly 10 years ago, I pretty severely burned my arm.
Like, second-degree, blistered, still-have-the-literal-scars-to-prove-it burned.
So… buyer beware. It’s my life mission to ensure no one else suffers the wrath of hot oil, so I’ll do my best to provide adequate warnings throughout the steps (which is why this step-by-step is longer than a Game of Thrones novel… BUT WITH MORE MEDIEVAL TORTURE).
Here are the cliff’s notes, though:
- Water and oil don’t mix. Make sure your salmon is super dry before putting it in the oil, or it will FLARE up at you.
- Use tongs to place the salmon gently in the oil.
- Use a splatter screen to cover the pan while the salmon sears.
How to Make Pan-Seared Salmon in 15 Minutes
First things first, skin your salmon if you haven’t already.
If, like me, you’re incapable of that kind of knifery, ask them to do it at the store when you buy it, or buy the already-skinned frozen salmon filets (Costco’s Atlantic Salmon is fantastic).
Rinse and pat them dry… like super dry. Mojave Desert dry.
(Apparently oil and water don’t mix, and this was reason number 1 for having oil exploded all over my arm a decade ago.)

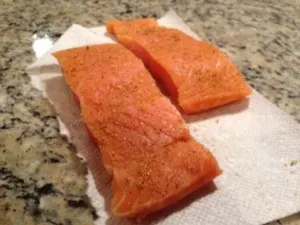
Season the salmon filets with a healthy shake of garlic powder, salt, and pepper. I don’t even really measure this part anymore; I just coat both sides of the filets.
I’m guessing it’s about two teaspoons of garlic powder, one teaspoon of salt, and half a teaspoon of pepper (or at least that ratio; you can season more or less, depending on how strongly-flavored you want it to be).
Start heating a medium-sized pan over medium-high heat. One trick to successful pan-searing is to get the pan hot before even adding the oil.
After a minute or so, add in a tablespoon or two of canola oil – just enough to coat the bottom of the pan. The other trick to successful pan-searing is to let the oil get hot before you add the food in, to help prevent sticking.
Once the oil is hot, and just barely starting to smoke, toss some parsley (fresh or dried) into it. This seasons the oil, but also serves as a testing ground for the dangerous weapon of torture that is your hot oil (I may or may not have PTSD).
It should sizzle a little bit when you add the parsley. That’s usually a good indicator that the oil is at the right temp. But if it crackles and pops and spits, turn the heat down and take cover while it cools off a bit.
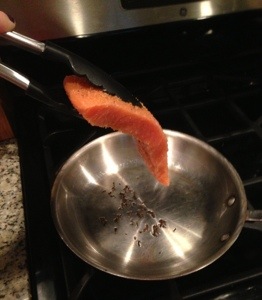

Give the parsley a few seconds to flavor the oil, then add the salmon.
Take my word for it, use tongs – this was mistake number 2 in the Great Oil Incident of 2010: I haphazardly tossed that salmon in with my bare hands like some kind of Emeril-Lagasse-lookin’ fool.
Prepare yourself, because the oil will sizzle and pop a little bit when the salmon hits it. Gently place each filet in, then cover that lava pit with a splatter screen and back away slowly.
The splatter screen protects your precious skin, but also helps steam the inside of the salmon, so it cooks more quickly.

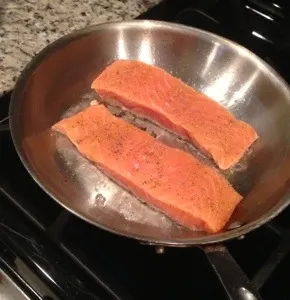
Give it 4-5 minutes, then gently flip it. It’ll be starting to get flakey at this point, so flipping it without breaking it in half is something of an art-form.
It may take a little practice, but I usually start at one of the ends, and gently nudge the tongs under it to loosen it from the pan.
If and when you break one of them in the flip, don’t fret. Just give your husband the broken pieces; beggars can’t be choosers, and we all know husbands are beggars. They’re like the raccoons of the family food chain – just begging for their every meal while spreading filth and contributing little-to-nothing.
BOOM, roasted.
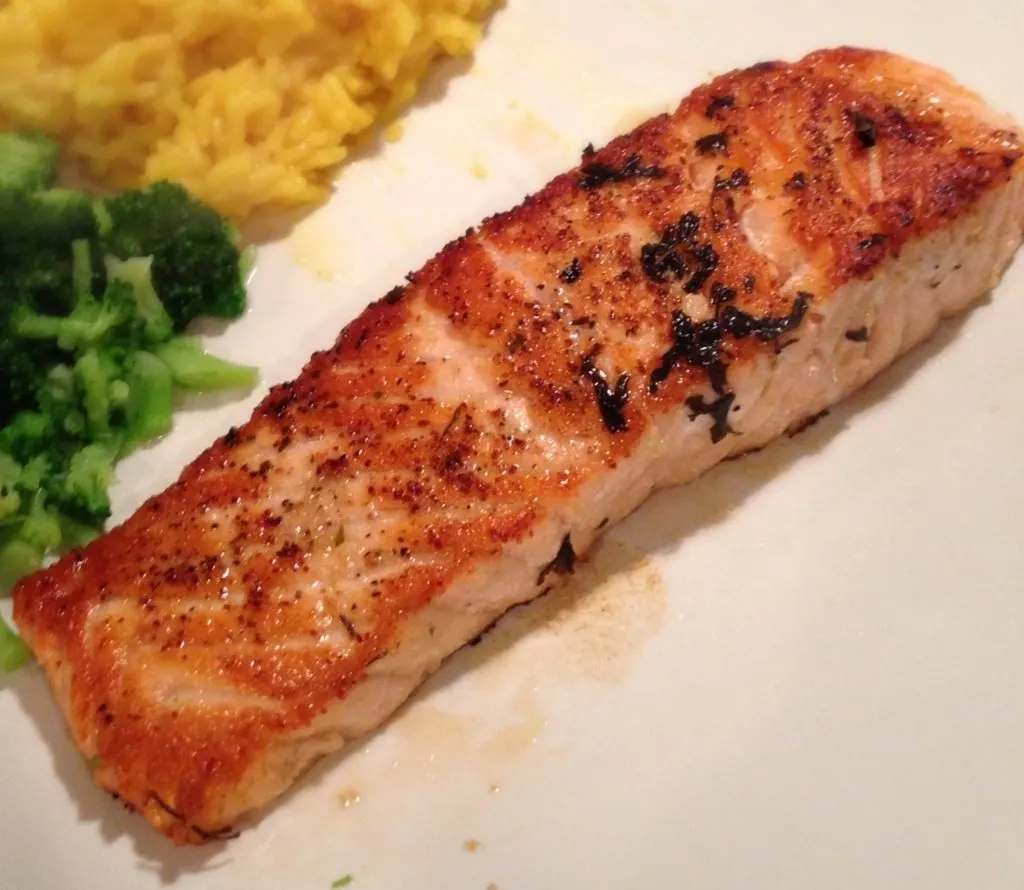
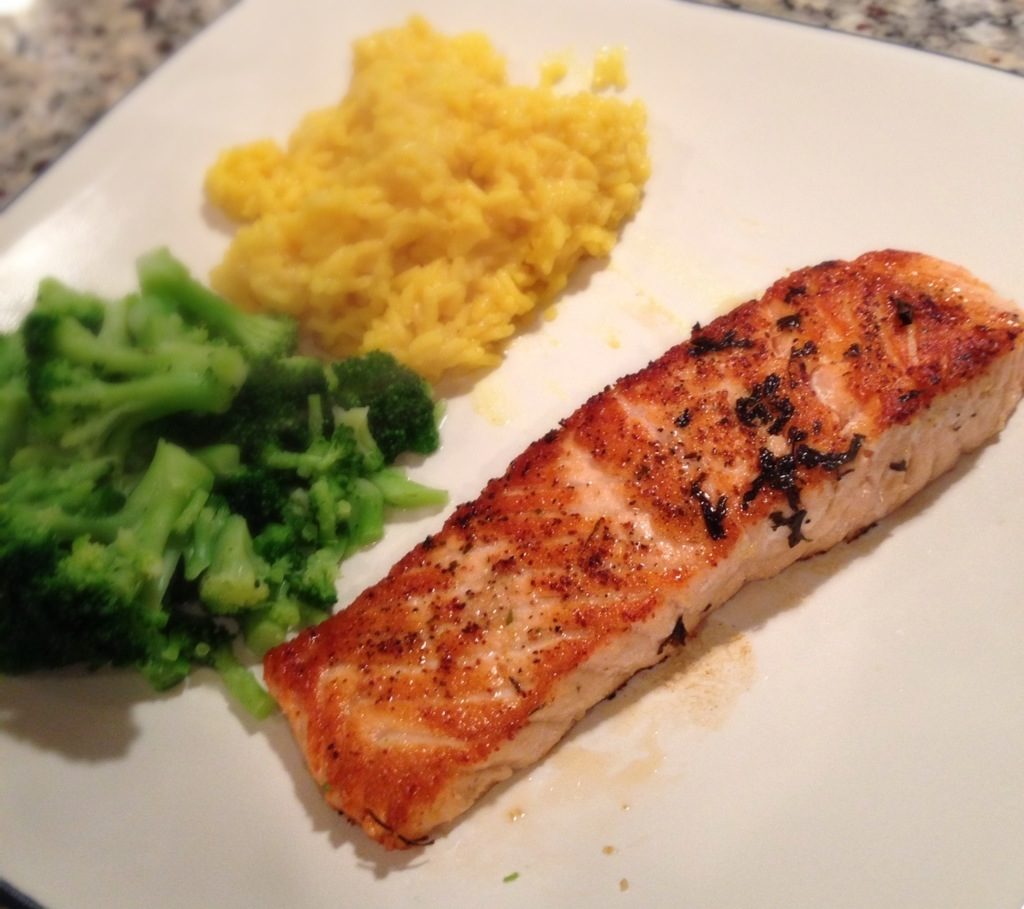
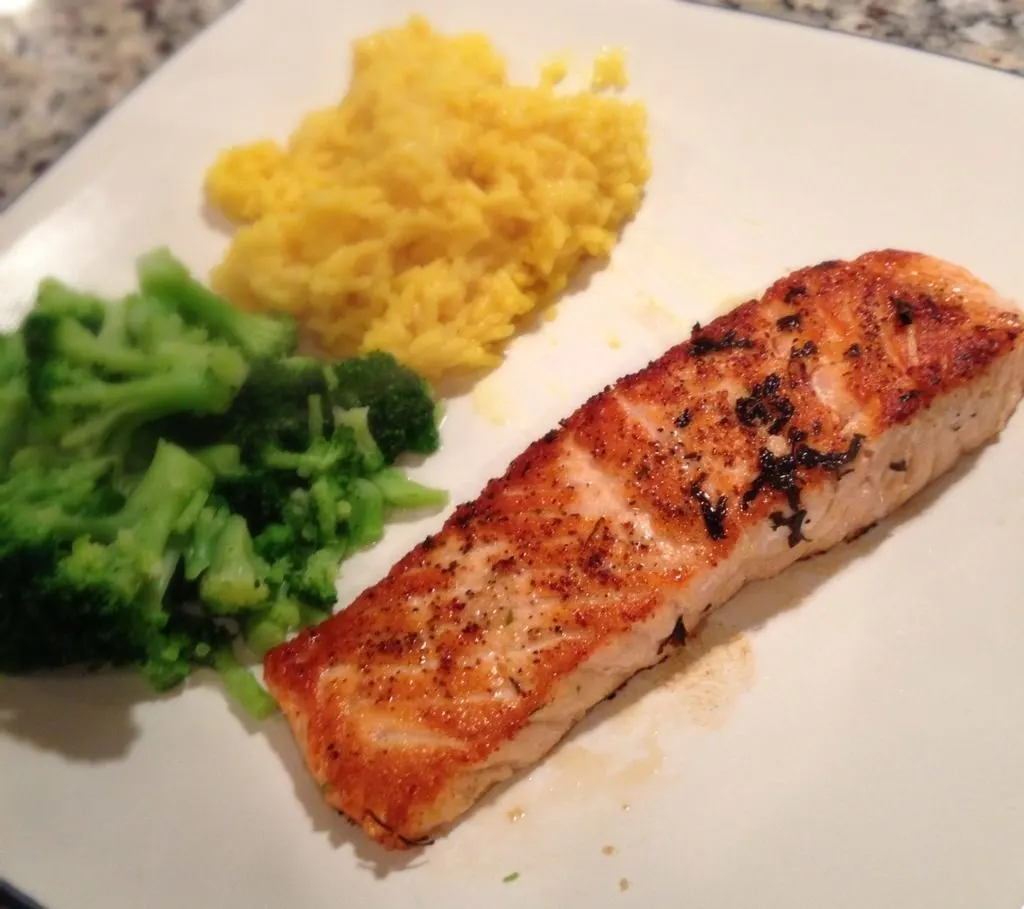
Sear the second side of the salmon for about 4 minutes, and you’re good to go! It should be cooked throughout and lightly crispy on the outside.
I typically serve with steamed peas or broccoli and saffron rice (or “yellow rice”, in our well-cultured household). The rice takes about 25 minutes to cook – and it’s the longest part of the meal!
Pan-Seared Salmon FAQs
How do you skin a salmon filet?
Honestly, I’m terrible at it. The easiest way to do it is to just ask the butcher at the grocery store to do it for you – they never even bat an eye!
But, if it’s too late for that, I’ve had the most success by using a super-sharp knife, and sliding it under the skin, pulling it back and taught as I go. (But it’s super hard, so don’t beat yourself up if you mangle your filet!)
How can you tell when the salmon is fully cooked?
Salmon is fully cooked when it’s flaky, and opaque throughout. That said, depending on the quality of salmon you buy, it can be totally fine if it’s a little “raw” in the middle. Many people prefer it that way!
How can you tell when the oil is ready?
The oil will be just slightly smoking when it’s ready. If you look at the pan from the side, you’ll see a bit of smoke coming off it. But if it’s bubbling and sizzling, then it’s probably a little too hot, and you should remove it from the heat for a minute or so.
Can you make this using frozen salmon?
You definitely need to thaw it out first (remember the whole oil and water thing?), but I use frozen salmon 99% of the time. It typically thaws out in the refrigerator in about 8-10 hours, or in as little as 30 minutes in a bowl of room temperature water.
My salmon cooked too fast / too slow. What gives?
The pan you use will have a big impact in your cook time. I use (and love!) All-Clad pans. I find that they heat pretty evenly, and they hold the heat well, so I can generally use lower heat than you may need with a different pan.
So if you found that it cooked too fast, try a lower heat.
If it cooked too slow, try higher heat, and try letting the oil get a little hotter before adding the salmon.
If you have any other questions, leave me a comment! I’d love to hear if you’ve made this recipe and enjoyed it.

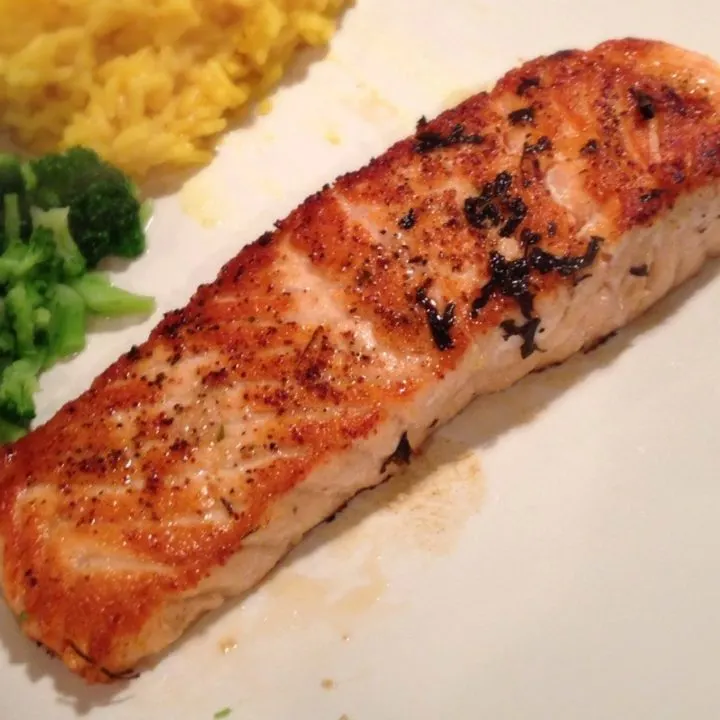
Pan-Seared Salmon
This easy weeknight meal is better than any restaurant salmon you've tried! In less than 15 minutes, you'll have perfectly crisp, flavorful salmon that even your toddlers will eat.
Ingredients
- 2 salmon filets, skinned
- 2 tsp. garlic powder
- 1 tsp. salt
- 1/2 tsp. pepper
- 2 tbsp. canola oil
- pinch parsley
Instructions
- Rinse and thoroughly dry salmon filets. Season both sides with garlic powder, salt, and pepper.
- Heat medium-sized pan over medium heat for one minute. Add oil and heat another minute or two, until oil is just barely smoking.
- Toss a pinch or two of parsley into oil. It should sizzle a little bit–that’s how you know the oil is ready.
- Carefully place salmon filets in pan using tongs. Cover with a splatter screen and sear for 5 minutes, until crisped and lightly browned.
- Flip filets and sear the other side for 3 – 5 minutes, until lightly browned and inside is cooked to your liking.
- Serve immediately.
Recommended Products
As an Amazon Associate and member of other affiliate programs, I earn from qualifying purchases.


michele
Tuesday 3rd of November 2020
once I've seared salmon is it okay to sit for a little bit before I put in the oven
Chrissie
Friday 13th of November 2020
I actually do not put the salmon in the oven – it fully cooks in the pan on the stove. This recipe definitely tastes best when it's freshly seared!
Michael R.
Friday 12th of January 2018
Looks yummy (and fraught with peril)!
Question though: Are you thawing the salmon first, or cooking it straight out of the freezer?
Chrissie
Friday 12th of January 2018
Definitely fraught with peril! Thawed first. It usually thaws really quickly; I typically put it in the fridge 8-12 hours before cooking it.
Abby
Wednesday 24th of August 2016
YUM! Definitely adding this to our menu for next week! (Also, I vividly remember the Great Oil Incident of 2010 and that was no joke!)
Chrissie
Wednesday 24th of August 2016
Good luck & Godspeed!
Mindy
Wednesday 24th of August 2016
Yummy, I can't wait to make this Chrissie.
Chrissie
Wednesday 24th of August 2016
Hope you like it!