*Note: Links in this post may be affiliate links, which means I receive a small commission when you purchase from them.
The Instant Pot is an amazing machine, but it’s also an intimidating one. For most of us, pressure cooking is a completely new cooking method, and to be honest, it’s kind of scary – especially if you don’t have any Instant Pot tips in your back pocket!
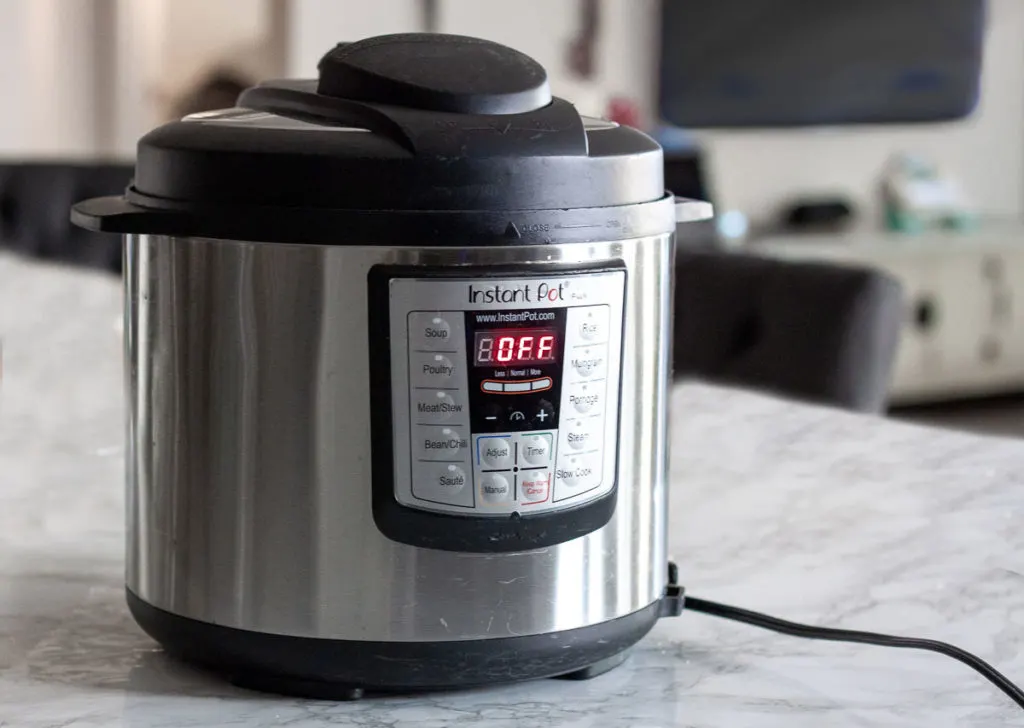
For starters, the whole premise of cooking with pressure conjures up images of spewing geysers and erupting volcanoes. Add to that all the new terminology, rules, and instructions, and you can see how easy it would be to just stick the thing in a closet, never to be seen again.
Thankfully, I’m not one to shy away from a little challenge, so I dove in head-first when I got my Instant Pot in 2017.
And by that, of course, I mean that I read the entire instruction manual, then the FAQs on the official Instant Pot website, then texted my friends who already had their own Instant Pots for any tips & tricks they had.
(I’m an Enneagram 5, in case you were wondering – it’s what we do.)
But once I’d sufficiently researched, I attempted my first Instant Pot recipe: Italian Sausage Pasta.
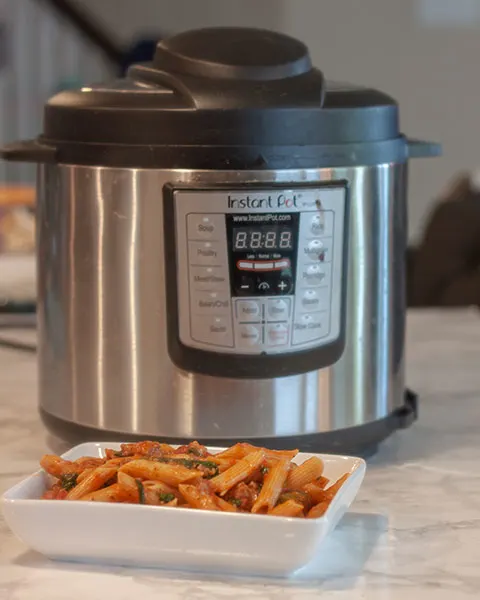
And it wasn’t great. I had no idea how long it would take to reach pressure, I way overcooked the pasta, and majorly under-seasoned the whole thing.
But I didn’t give up!
After MUCH trial and error, I finally figured out this crazy cooking contraption. But man do I wish I knew then what I know now!
Instant Pot Beginner Tips
Tip #1: Read the recipe thoroughly.
One of the simplest, but most important Instant Pot tips, especially when you’re first getting started: follow a recipe. Try to find recipes that include information about time to pressure and time for natural release, so you can be sure to properly account for the total amount of time required.
{My Instant Pot Crack Chicken recipe is a great first one to try out if you’re just getting started.}

My biggest frustration when I first started using the Instant Pot, was finding all these recipes that claimed they took “just 15 minutes!” only to find that that time didn’t include pressure-building or releasing time. So that “15-minute meal” quickly turned into a 45-minute meal, and my vaguely-hungry-toddler quickly turned into a hangry monster.
I learned pretty quickly to always pad the recipe time by at least 20-30 minutes – or more, if it uses a lot of liquid, like in my Instant Pot Boiled Peanuts recipe–unless I could see that the recipe card included it.
(And for the record, my Instant Pot recipes always specify how much time it should take to build and release pressure, and I include that time in the recipe card time estimates.)
Tip #2: Always make sure the liner is in the Instant Pot before adding your ingredients.
The most common Instant Pot destruction method is dumping ingredients into the pot without realizing the liner isn’t in it. This can fry the electronics inside the pot, and from what I’ve gathered, is pretty much unrecoverable.
To make sure I never do this, I always store my Instant Pot with the liner in it. I take it out of the pot to clean it, then stick it right back in as soon as it’s dry, so it’s always ready and waiting.
Tip #3: Make sure the pot has at least 1 cup of liquid in it.
This is generally the minimum amount most recipes require to reach pressure. There is the occasional recipe that can get away with 1/2 cup, but for the most part, make sure you’ve got 1 cup.
To be clear, liquid isn’t always just water or chicken stock. It can be anything from salsa, to honey, to pasta sauce. Be sure to account for all of these things when checking that your recipe has enough.
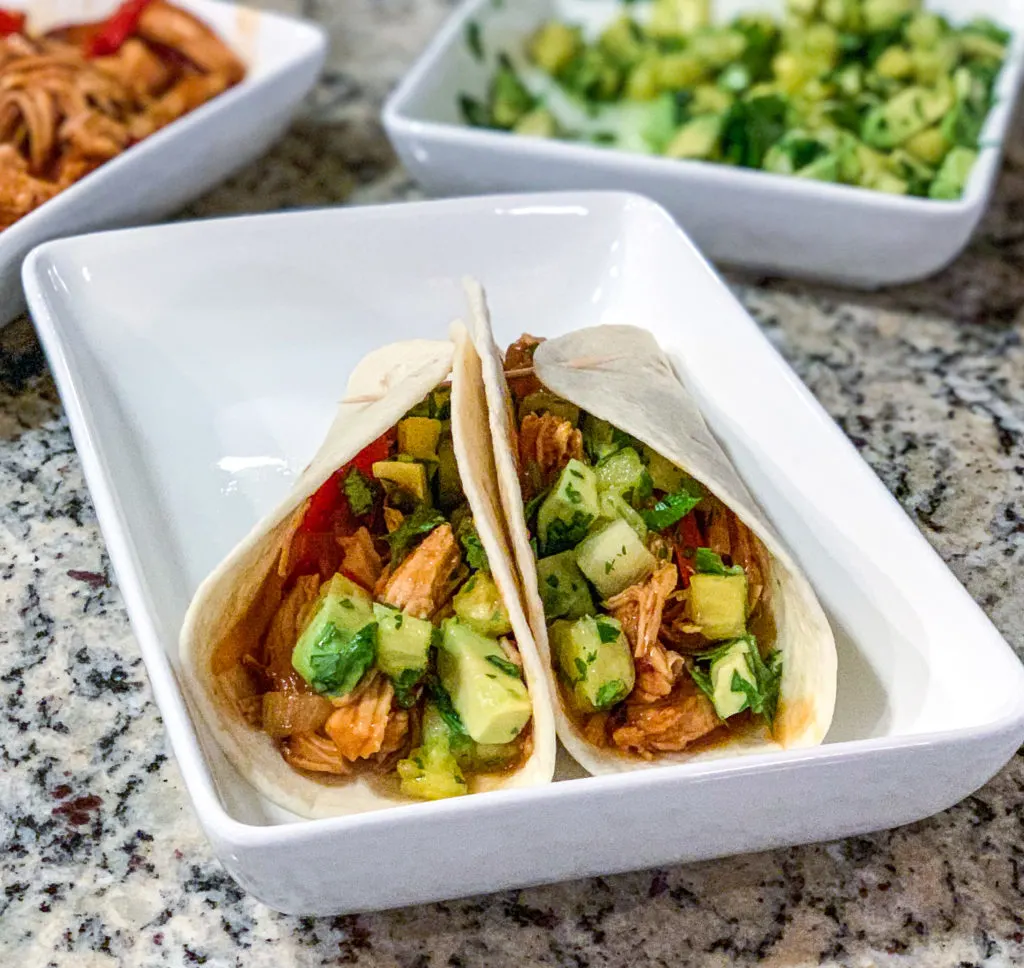
For example, my Instant Pot Honey BBQ Chicken Tacos recipe uses a combination of BBQ sauce and honey for the liquid. Get creative with your liquid content to easily add flavor to your recipes!
Tip #4: Double-check your sealing ring, every time.
I can’t tell you how many times I’ve waited and waited for the Pot to reach pressure, only to find steam spewing out the sides of my Instant Pot’s lid – a tell-tale sign that the sealing ring is loose.
When this happens, you just have to open the lid, firmly secure the ring, reseal the lid, and start over. Typically the pot can reach pressure within a couple minutes after this, since everything is already hot, but it is so. dang. frustrating.
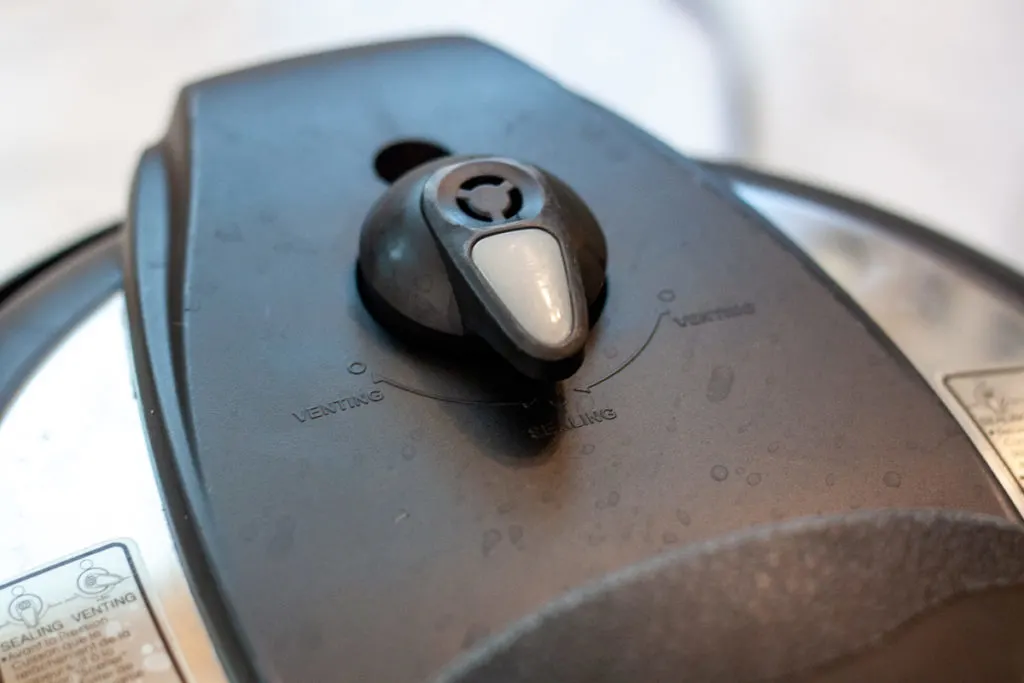
Tip #5: Double-check the release valve before you press start.
It’s totally normal to see steam shooting out the valve of the Instant Pot just before it reaches pressure. Generally, you see a pillar of steam for about 60-90 seconds, and then it abruptly stops. The timer starts counting down a minute or so later.
But occasionally, that pillar of steam just keeps coming and coming. Every time this has happened to me, it’s been because I forgot to flip the valve to “Sealing,” and it’s basically releasing all the pressure as soon as it builds.
So, always double-check that you’ve set the valve to Sealing before you set the timer!
Tip #6: Make sure to scrape any stuck foods off the bottom of the pot before starting your pressure cook time.
For any recipe that uses sauté mode, like Instant Pot Crack Chicken Pasta or Italian Sausage Pasta, it’s super important to deglaze the Pot before sealing the lid for pressure cooking.
The Instant Pot has a ton of safety features built in. One of them is to prevent burn from too little liquid (see tip #3). But, when stuff is burnt onto the bottom of the pot, it can trigger that burn warning, and prevent the pot from pressurizing.
Tip #7: Make sure the release valve is pointed away from cabinetry, light fixtures, etc.
When you release the pressure from the Instant Pot, it shoots steam out of the release valve. (Thanks, Captain Obvious.) But, that means, over time, if you’re constantly releasing this steam out onto your cabinets or pendant lights, the liquid will cause damage.
So make sure to place your Instant Pot in an open space with no obstructions. (Preferably not on your ceramic stovetop, though – I’ve heard many stories of IPers melting the bottom of their Pots by accidentally turning on the stovetop!)
Tip #8: Release initial pressure in short bursts.
For recipes that call for quick release, I like to use a wooden spoon to nudge the valve a few times to let the initial bursts out. Particularly when I’m cooking something starchy, this ensures no starchy foam is going to blast out all over my ceiling.
After 3 – 5 bursts, I’ll flip the valve all the way over to Venting to allow the pressure to fully release.
Tip #9: Open the lid like a shield, protecting your face from any steam.
This one might be common sense, but it took me a few impromptu steam facials to figure it out. When you unlock and lift the lid after all the pressure has been released, make sure to lift the lid towards your face, so it acts a shield from all the steam.
This is also an extra little safety measure, just in case there’s a hidden pocket of pressure trapped in the pot that could splatter out when you open the lid. I’ve never had this actually happen, but I imagine it’s possible.
Tip #10: Buy an extra sealing ring.
The sealing ring (the rubber ring inside the lid of your Instant Pot) is super important to its function. It’s what makes sure all the steam and pressure stays in the pot, allowing your food to cook.
But, in doing that, it also absorbs some of the smells and flavors of some foods. So, it can come in handy to have two sealing rings – one designated for savory foods and one for sweet.
It only takes one batch of vaguely meatloaf-flavored oatmeal to make you wish you’d implemented this system from the get-go!
Not to mention, if something happens to your only sealing ring, it puts your IP out of commission – the horror!
Instant Pot Terminology & Acronyms
One of the more frustrating things when trying to learn the Instant Pot is all the new lingo. You practically need a secret decoder ring to understand the language of the new cult you just joined.
So, here’s your handy Instant Pot terminology cheat sheet:
- IP: Instant Pot. (Start with the basics, right?)
- Lux / Duo / Ultra / Max / Smart: The many different Instant Pot varieties, each with their own benefits and unique features! The most popular model is the Duo 60.
- Water Test: If you read the manual, you’ll see that the company recommends starting with a simple water test. This ensures the unit is functioning properly, and gives you a chance to familiarize yourself with the process. I definitely recommend doing this!
- HP: High Pressure. Generally the “Manual” button on most Instant Pots, though all the models are slightly different.
- LP: Low Pressure. Some models offer the option to cook on low pressure using the “Pressure” button, or one of the preset settings.
- NPR: Natural Pressure Release. Once the pressure cooking is done, let it sit, untouched, for about 15 minutes while the pressure releases on its own, then flip the valve to vent any remaining pressure.
- QR: Quick Release. Once the pressure cooking is done, manually flip the valve to vent the pressure immediately (see Tip #8).
- PIP: Pot-in-Pot. This is when you cook two different foods at the same time, usually stacking one in a separate pot within the main liner using a sling. For example, my Instant Pot Meatloaf with Potatoes & Carrots recipe uses the pot-in-pot method.
- 5-5-5: This refers to a specific method of cooking hard-boiled eggs, but it’s referenced a lot in Instant Pot circles. It means 5 minutes high pressure, 5 minutes natural release, 5 minutes in an ice bath. (And my personal favorite method of making hard-boiled eggs, for the record.)
My Favorite Instant Pot Accessories
You just invested in a new appliance, cleared out cabinet or counter space for it, and are diving into learning more about it – you’d think that’d be enough, right?!
WRONG. There’s a whole slew of accessories you need, to really get the most out of your Instant Pot.
- Silicone Sling: For all your future pot-in-pot meals.
- Fat Daddio’s Push Pan: This pan fits perfectly in the 6-qt IP, and is the only pan I’ll make cheesecake in now. It’s so easy to use!
- Silicone Baby Food Molds: These are great for making egg bites, small muffins, or small-portioned items in the Instant Pot.
- Stainless Steel Steamer Basket: This steamer basket is great for loading up with eggs to hard boil large quantities at once, or even molding a meatloaf in (like I do in my Instant Pot Meatloaf recipe).
- Extra Sealing Rings: See Tip #10 for all the reasons why you need this. These particular ones are great because they’re color-coded. So you’ll never have to sniff your sealing rings to figure out which is your sweet and which is your savory one (been there).
- Silicone Lid: This lid is great for storing leftovers, or for storing pre-made parts of your meal in the liner before you finish cooking. Y’all know I’m all for not dirtying an extra dish, at any cost!
And there you have it. With all this info at your fingertips, you’re officially ready to take on your Instant Pot. I highly recommend you check out one of these Top 10 Instant Pot recipes to get started!
